Some Context . . .
This is the third post in a multi-part blog educating readers on how to build a personal “sandbox” environment for Hyperion Planning. Click here to see all nine posts in the series.
Installing VMware Workstation
Before we can install Hyperion Planning, we need to create our virtual server. The first step is to install our virtualization software. In this example, we will be using VMware Workstation 11. Installing VMware Workstation is a fairly straightforward process. Start by double-clicking the VMware Workstation executable.
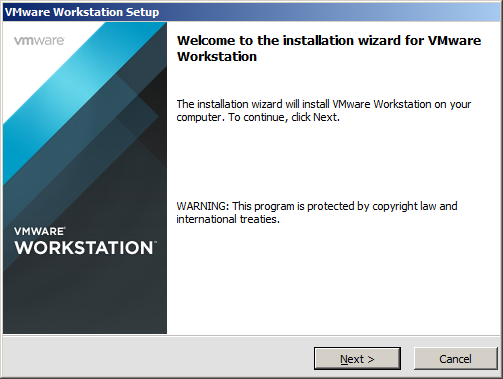
Select “Next”.
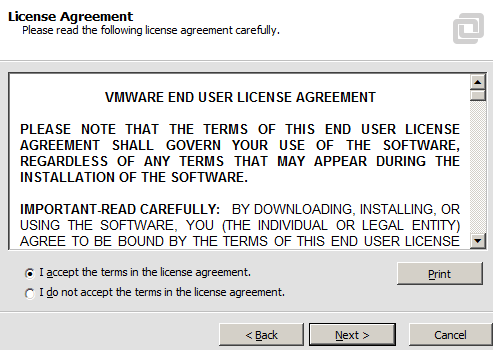
Accept the license agreement.
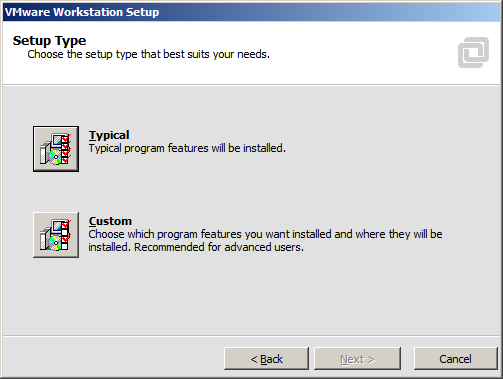
Select “Typical” installation.
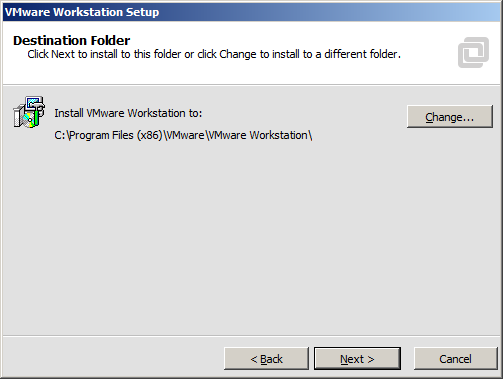
Select the installation location. Select “Next”.
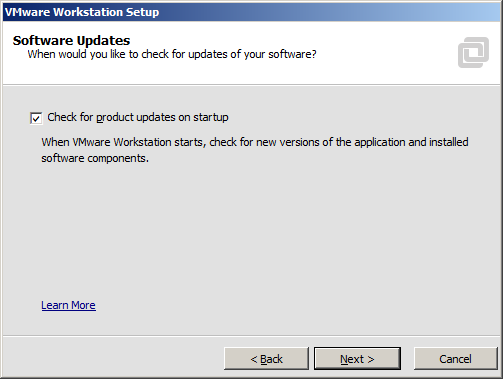
Determine whether VMware Workstation checks for updates. Select “Next”.
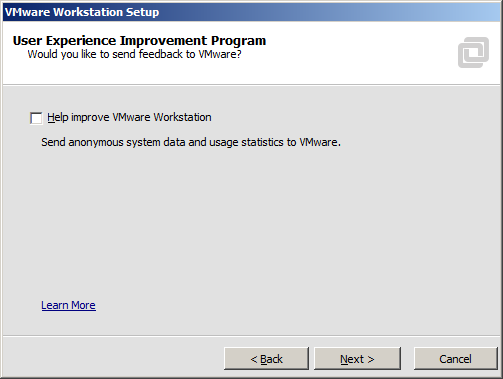
Determine whether usage data gets sent to VMware. Select “Next”.
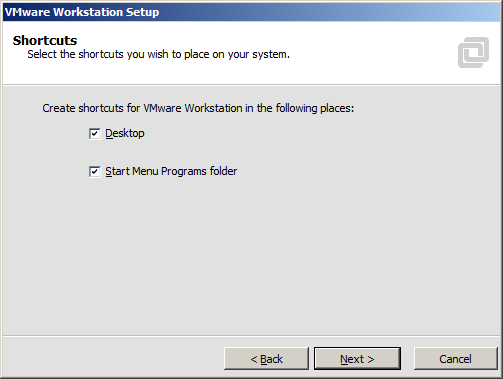
Determine which shortcuts get created. Select “Next”.
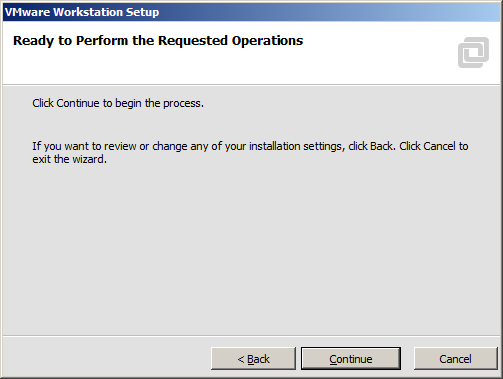
Select “Continue” to begin the installation.
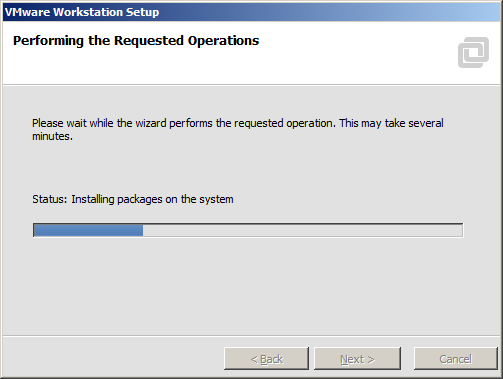
Installation is in progress . . .
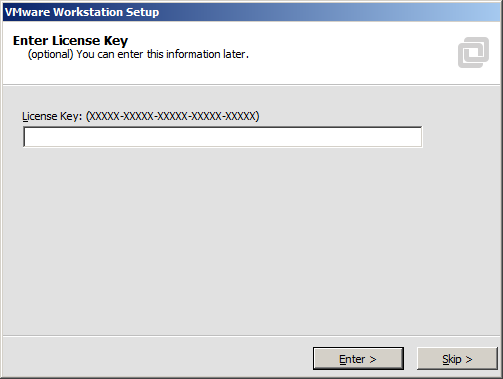
Enter the license key.
Success! Select “Finish”.
In the Next Post
With VMware Workstation installed, it’s time to create a virtual server. Click here for the next post in the series.