Some Context . . .
This is the seventh post in a multi-part blog educating readers on how to build a personal “sandbox” environment for Hyperion Planning. Click here to see all nine posts in the series.
So far . . . so good . . .
In the previous posts, we laid the foundation for our Hyperion Planning environment. We completed the following steps:
- Downloaded the Relevant Files
- Created a Virtual Server
- Installed and Configured the Server Operating System
- Installed and Configured the Oracle RDBMS
- Created our RDBMS Users and Schemas
Now would be a good time to take a snapshot of your virtual machine.
Installation Time
To begin the Hyperion Planning installation, navigate to the zipped files previously downloaded from e-delivery. Unzip all of the downloaded files. I recommend 7zip. Unzip these files from the host computer.
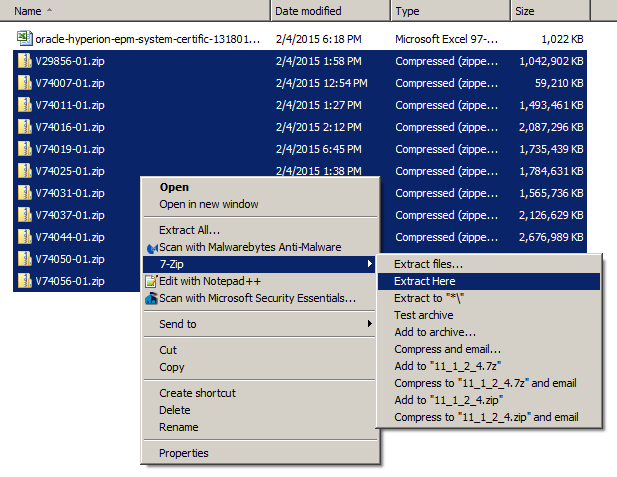
You may receive warnings about the location of your unzipped files already having certain files in place. This is because Oracle sometimes packages the same file in multiple zip files, and should not cause concern.
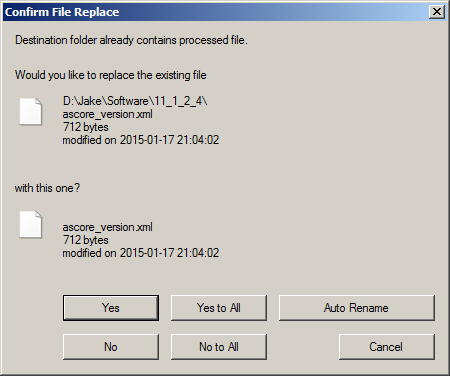
Simply select “Yes to All” when prompted. After unzipping, your folder structure will look something like this:

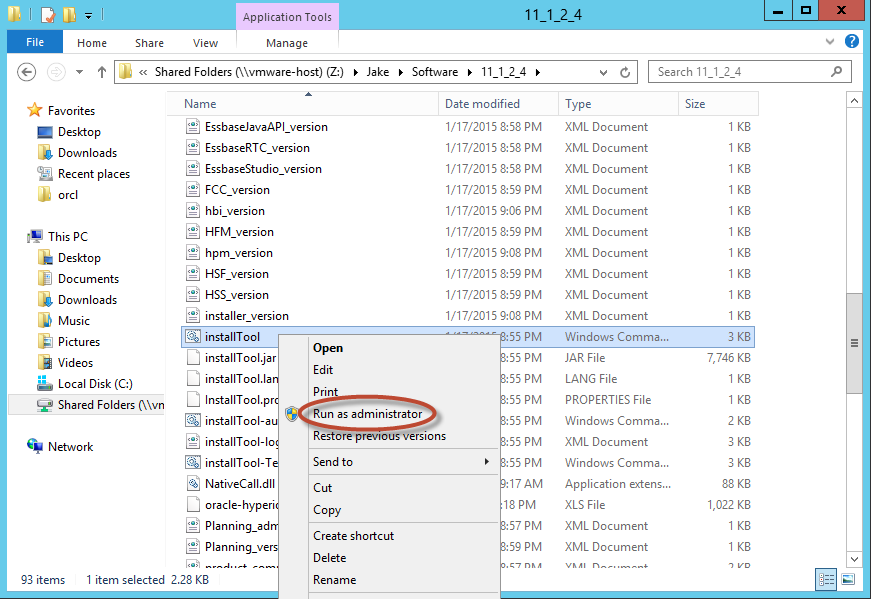
Login to your VM. Navigate to the unzipped files (on your shared folder) and locate the file “installTool.cmd”. Right click on this file and select “Run as Administrator”.
Select a language.
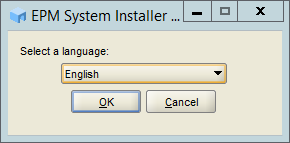
Select “OK”.
The EPM System Installer will open.
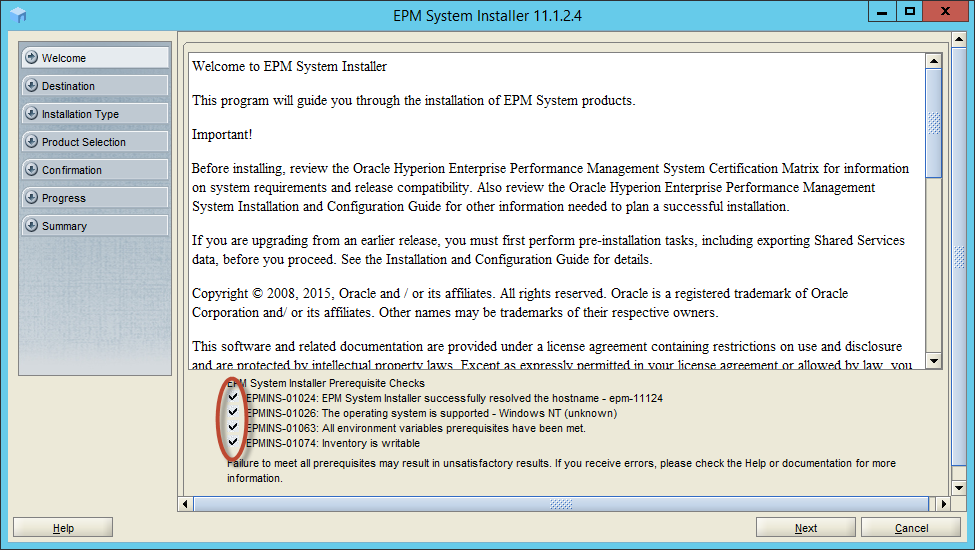
Make sure that the prerequisite checks all pass. If any of the four lines above do not have a check box, you must stop the installation, as something is wrong.
Assuming all four lines have a check next to them, select “Next”.

Select a Middleware Home.
Select “Next”.
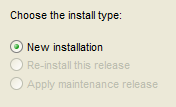
Choose the install type (only one option will be available).
Select “Next”.
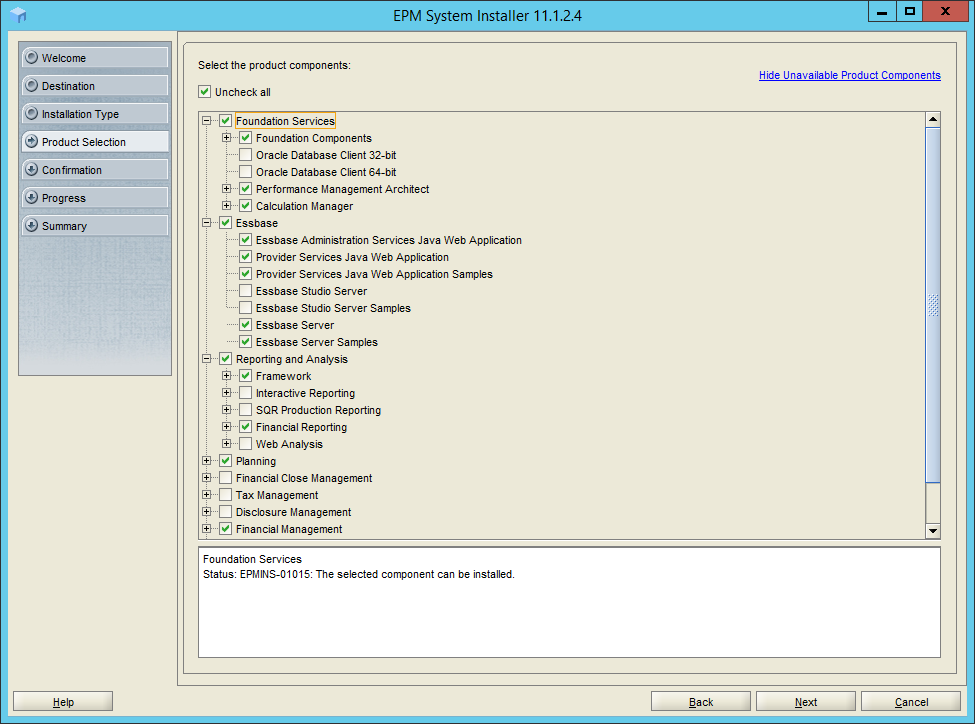
Select the software to install. Note that we are not really installing Financial Management above. There is a required component under this product.
Select “Next”.
A .NET warning will appear.
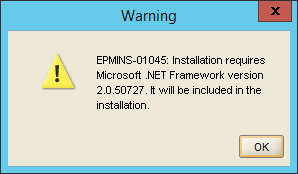
Select “OK”.
Confirm the components to be installed.
Select “Next” and the installation will begin. This portion will take some time.
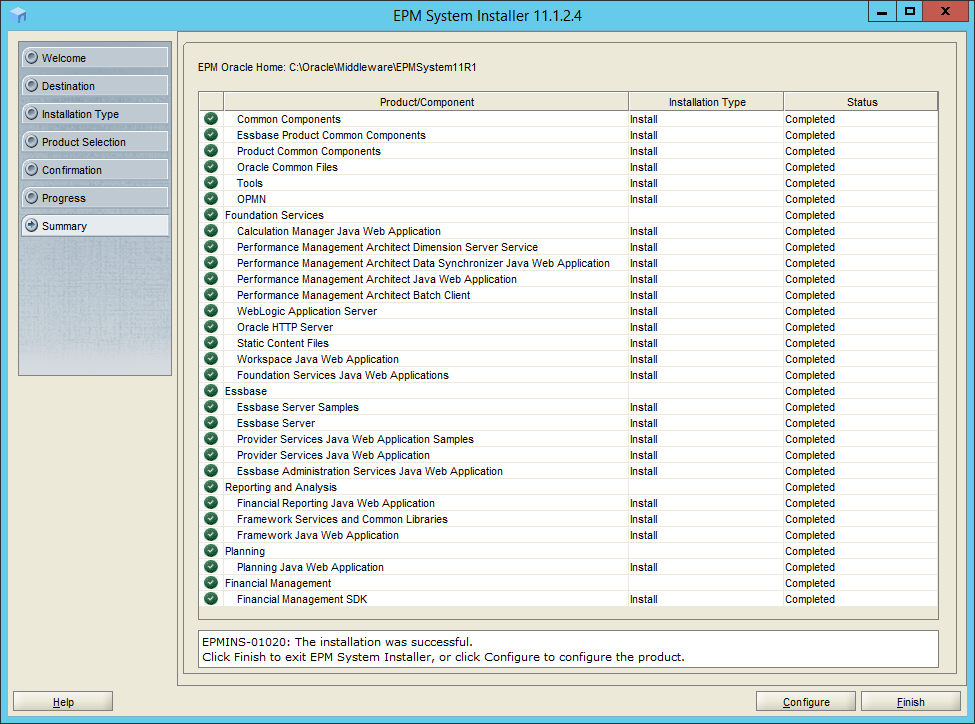
Ensure that everything was installed successfully. Select “Finish”. Take a snapshot before configuring the software.
In the Next Post
With Hyperion Planning installed, it’s time to move on to the configuration. Click here for the next post in this series.