Some Context . . .
This is the ninth (and final) post in a multi-part blog educating readers on how to build a personal “sandbox” environment for Hyperion Planning. Click here to see all nine posts in the series.
Creating a Test Hyperion Planning Application
Once the EPM products are configured, there are three additional prerequisites for creating an application:
- Create the Planning Application Repository
- Create the Planning Application Repository Schema User
- Create the Planning Data Source
If you’ve been following this tutorial from the beginning, you will have already created the Repository (PLANAPP1) and Repository User (also PLANAPP1). These were created when you pasted the SQL code into SQL Plus.
For the purposes of this example, we will be creating a “Classic” Hyperion Planning application. The alternative approach (using EPMA) is rapidly losing popularity. Oracle does not appear to be investing in this product, so “Classic” it is . . .
Start the EPM Services
Locate the “Start EPM System” icon within the apps on your VM. (I would recommend right-clicking on this icon and selecting “Pin to Start”. Do the same with the “Stop EPM System” script.) Run the start script to startup the EPM services on your VM. Some notes about the startup process:
- On my laptop, startup takes a little less than 9 minutes.
- Faster processors and hard drives will improve startup time.
- Compact deployments will start faster than “regular” deployments.
- The script will close when startup is complete.
- Watch Task Manager on the VM during startup to monitor CPU and memory utilization.
- Upon completion of the script, ensure that all services started as expected.
- Don’t forget to stop the EPM services before you shut down your VM.
Create a Data Source
Once the services have started, open a browser on your host. Navigate to the following URL:
http://<INSERT SERVER NAME HERE>:8300/HyperionPlanning

Enter the Shared Services admin user ID and password.
Select “Sign In”.

Select “Manage Data Source”.

Select “Create”.
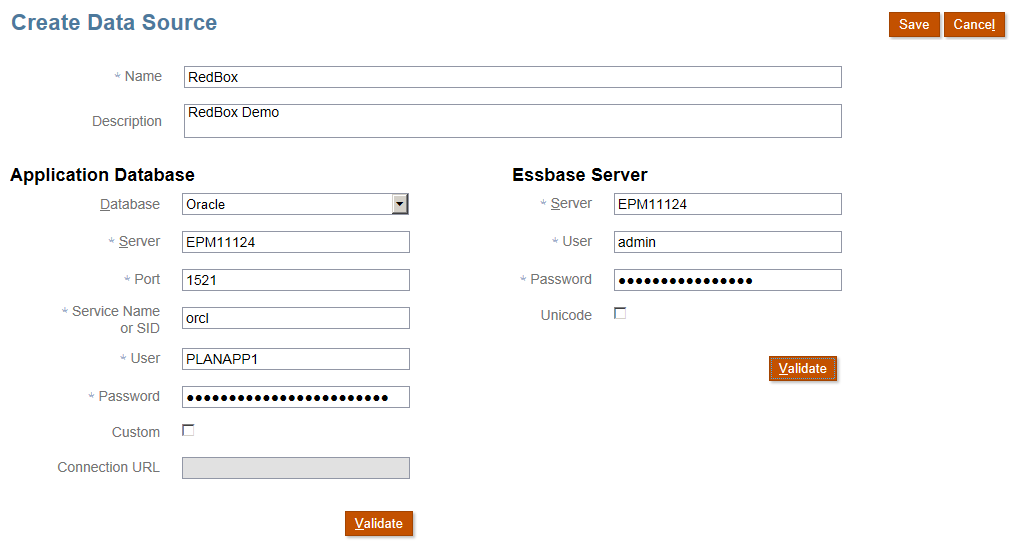
Enter the App Database connectivity information.
Enter the Essbase Server connectivity information.
Validate each connection.
Select “Save”.
Create the Planning Application

Select Manage Applications
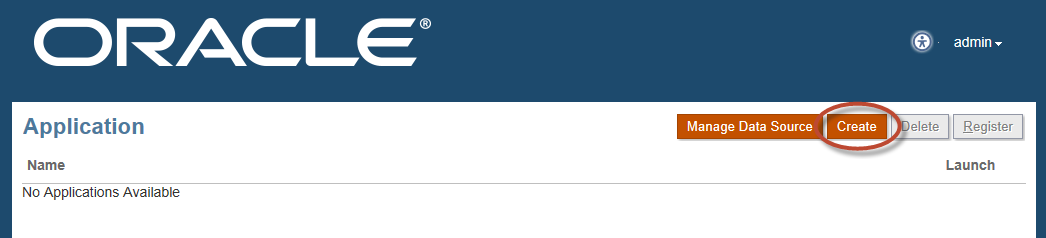
Select “Create”.
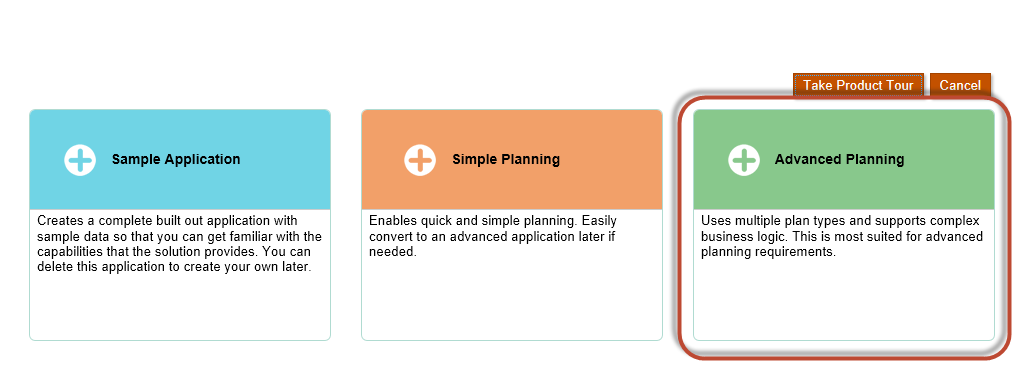
Select “Advanced Planning”.
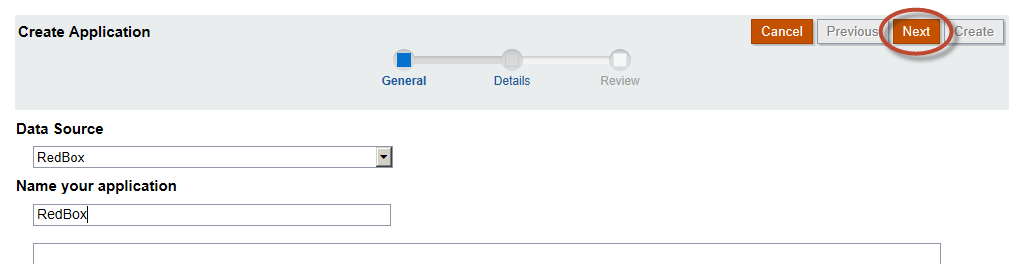
Name your application and select “Next”.
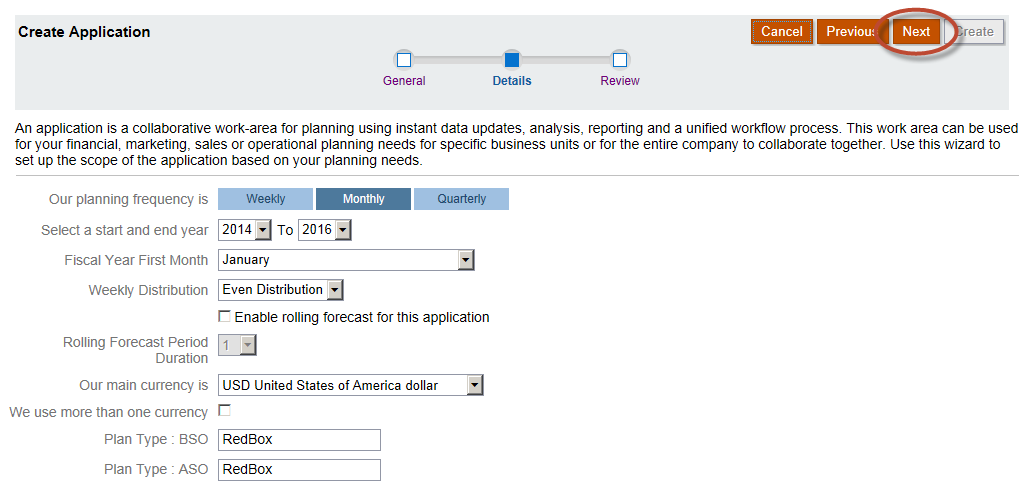
Select the application parameters. The simplified Planning interface appears to force applications to have an ASO plan type.
(This would appear to be a bug, as the on-premise interface does not require this.)
Select “Next”.
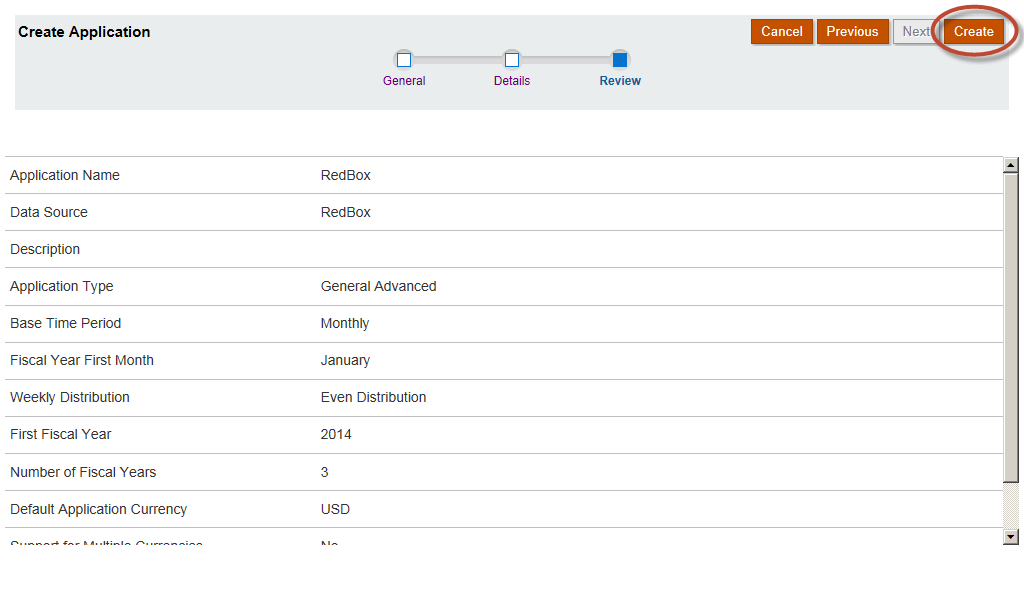
Review the application settings. Select “Create”.
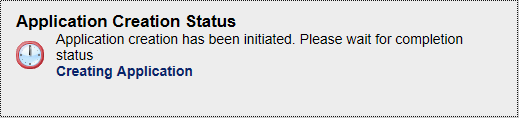
Planning will begin creating the application.
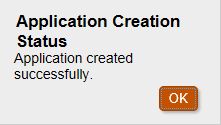
Select “OK”. The application interface will be displayed.

Next Steps
With the application created, users may now begin the typical Hyperion Planning development activities, including:
- Building Dimensions
- Building Input Forms
- Loading Data
- Building Calc Manager Rules
- Building Reports
- Creating Approvals Processes